Getting Started
Accessing the WORM Portal
You will need a WORM Portal account to follow this guide. Learn how to request a free account and sign in.
Navigating your personal workspace
Once you sign into the WORM Portal you will be greeted by your personal workspace. This tutorial will cover some of the interface as we go, but for now, look for the file browser on the left.
Tip
If you do not immediately see the file browser, click on the tab with the folder icon on the far left. This will expand/retract the file browser.
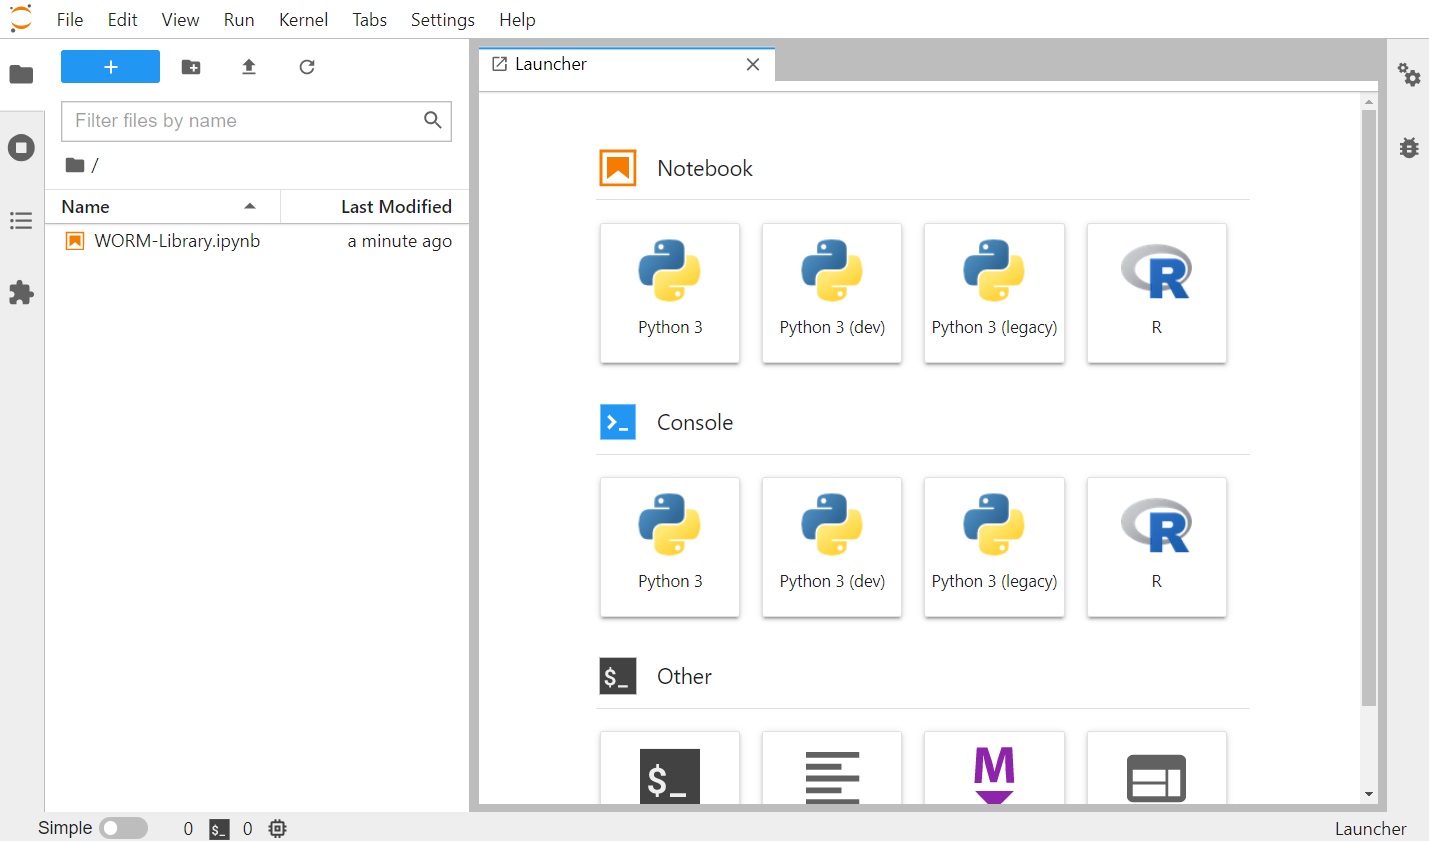
This file browser is where you navigate files and folders and organize projects in your workspace. New users should only see a single file called WORM-Library.ipynb. This file is where you can access all premade WORM tools and demos. These tools come in the form of interactive digital notebooks, sometimes with supplementary datasets and example input files.
Accessing demos from the WORM Library
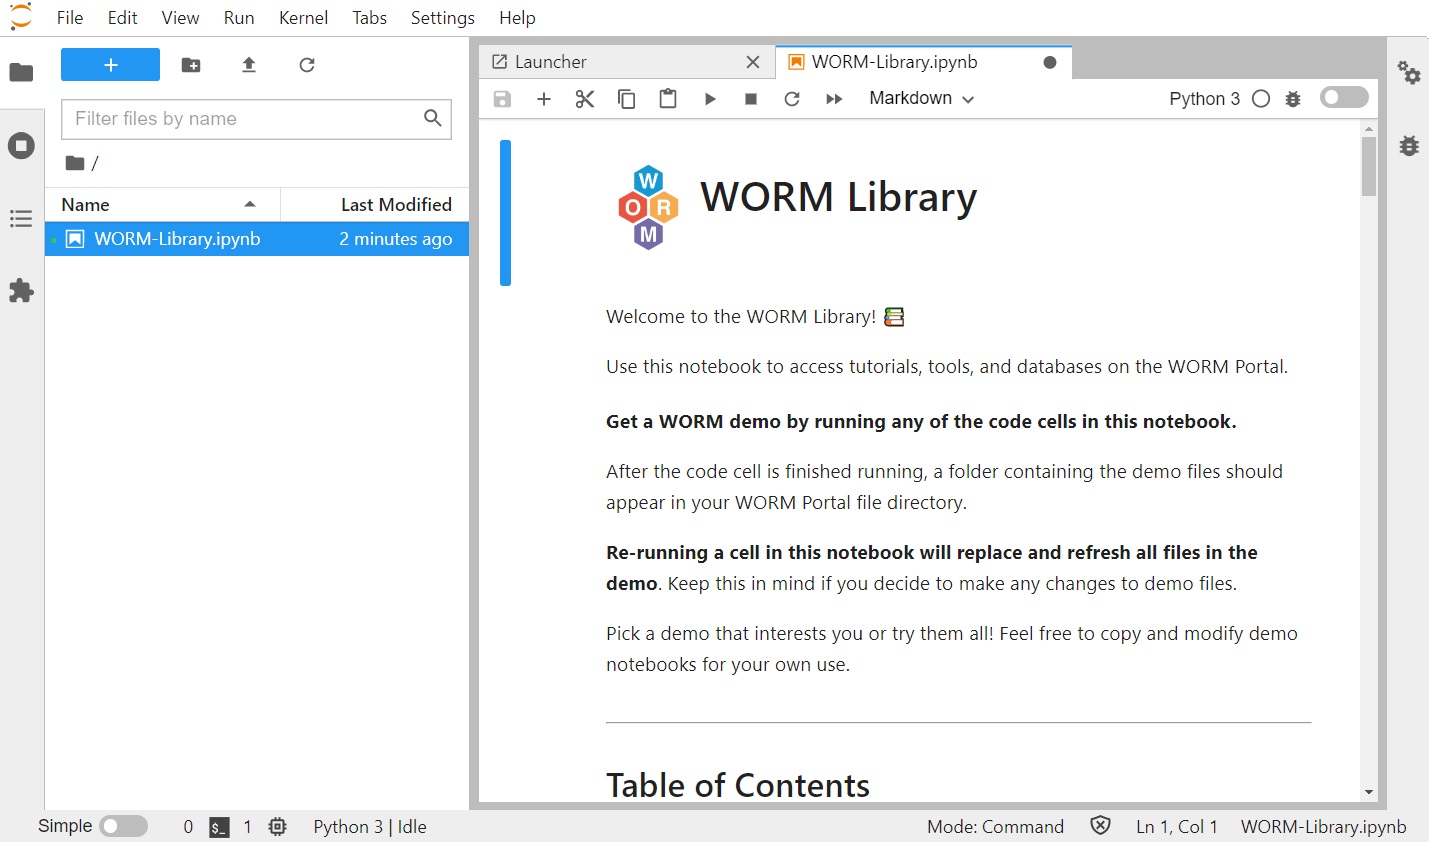
Let's begin by double-clicking on WORM-Library.ipynb.
This will open up the WORM Library notebook on your screen. It should look something like this:
Scroll down in the notebook until you see a header that says 1. Introduction to the WORM Portal followed by a brief description of the introductory demo.
Click somewhere inside of the box that says
import WORMdemo
WORMdemo.get_introduction_demo()
Now, hit SHIFT+ENTER to run the cell.
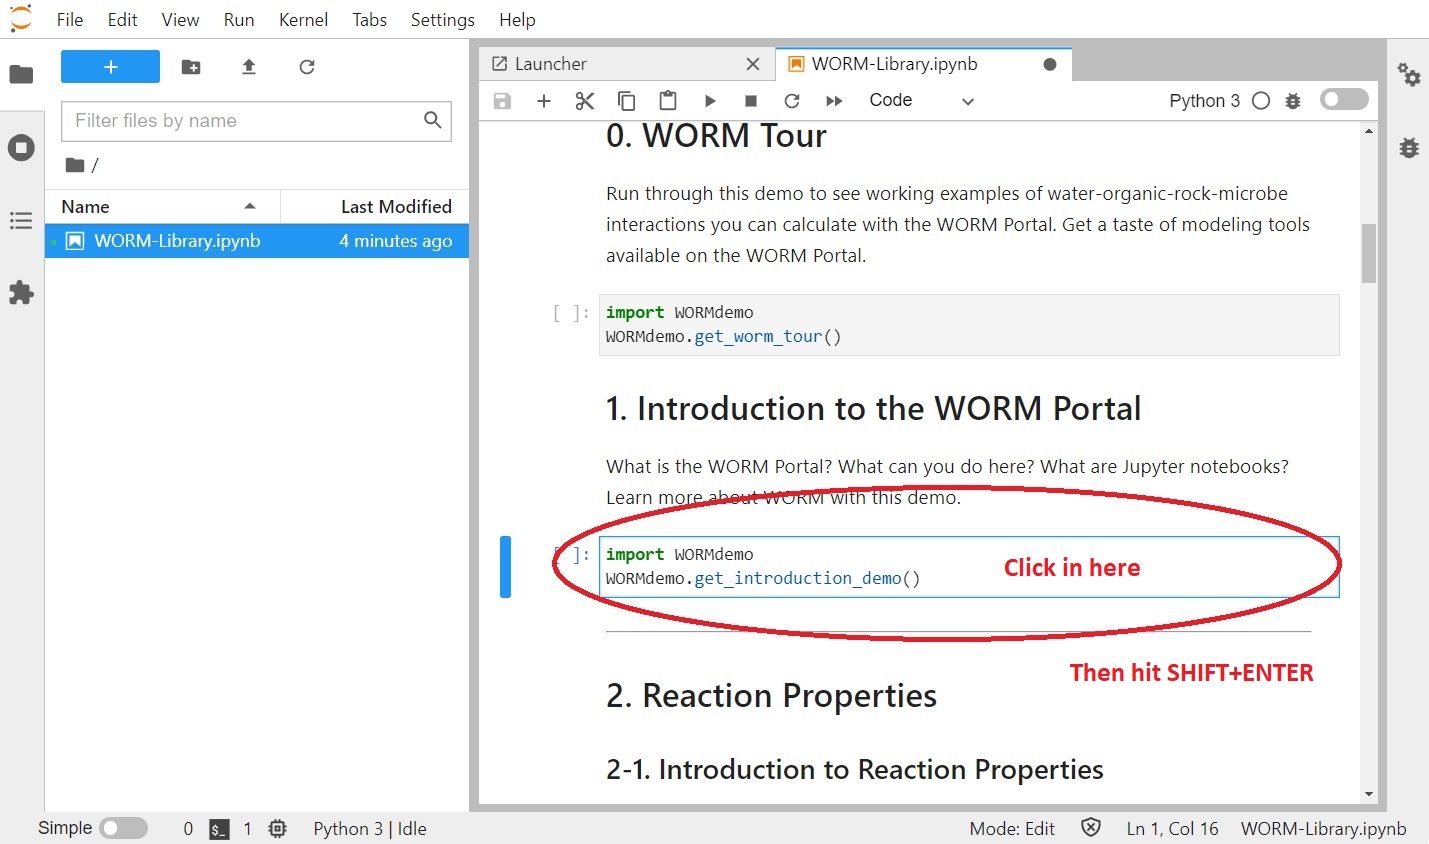
This will run the code inside of the cell that creates the demo folder in your workspace. When it is done, a message will display saying
Demo-1-Introduction is ready.
Check your file browser for a newly created folder called Demo-1-Introduction. You might need to wait a moment for it to appear.
This new folder contains the files needed to run the introductory demo. Double click the folder to enter it in the file browser.
Run through the first introductory demo
Double click on the first demo file to open it in a new tab. This type of file is a Jupyter notebook. It can contain text, images, and interactive code to do useful calculations. All tools and demos in the WORM-Library take the form of Jupyter notebooks. Notebooks are divided into sections called cells that contain chunks of text, images, code, etc. Scroll through the demo to learn more about WORM and commonly used terms.
When you are ready to move on, close the tab.
Tip
If you don't see a tab, it might be because you are in Simple mode. Simple mode can be toggled off in the lower left corner of the window, or by pressing Ctrl+Shift+D.
The tab will close, but the notebook is still running in the background, consuming server resources. Shut down a notebook you aren't using by right clicking its file and selecting 'Shut Down Kernel'. This is a way to be courteous to other users, especially if you are working on a project that is CPU or memory intensive.
Info
A kernel is what carries out the code written in notebook cells. WORM notebooks use a Python kernel to run cells with Python code in them.
Warning
All notebook kernels are shut down automatically every day at 5:00 AM MST. Keep this in mind if you are allowing a long calculation run overnight!
Run through second introductory demo
Open the second demo notebook. Note that the code cells in the notebook start by displaying output of the code. Click on the Kernel tab, then select 'Restart Kernel and Clear All Outputs...' to start with a clean slate.
Make sure the first cell of the notebook is selected (click on it if not). Then SHIFT+ENTER to execute (run) each cell in order. Cells containing instructional text (like the first cell) will not do anything. Code cells will run the code and then display the output.
Tip
It is important to run cells from top to bottom in order. Skipping cells or jumping around out of order can result in errors and code misbehavior. Running cells in order guarantees reproducible results. A fast way to quickly refresh/restart and run a notebook in order is to click on the Kernel tab and select Restart Kernel and Run All Cells....
When the notebook is finished running you can scroll up to see that the cells have been executed. If you are unfamiliar with Python, take a little time to read about what the cells are doing and then mess around with them yourself. This is your copy of the notebook so you can try whatever you'd like!
When you are done with the notebook, close the tab and shut down the kernel.
Congrats! You have completed the introductory demo. Search the WORM-Library for another tool or demo you'd like to try, copy its files to a folder in your workspace, and then run its Jupyter notebook. Try changing some of the parameters in the code blocks and then run them from the Kernel tab with Restart Kernel and Run All Cells....
Success
If you're new to all of this, don't worry too much about making mistakes or getting Python errors. Most of the time these error messages will help you troubleshoot whatever went wrong so you can make corrections and try again.